Aftermarket Passenger Seat Retrofit for 8V Audi
In my search for a reasonable way to retrofit aftermarket seats I came across a “one stop shop” for almost all the parts needed. This was key to being able to leave my existing seat completely intact so could reinstall it if needed.
One important thing to note is that if you do not have weight on the occupancy sensor mat the vehicle has no way of knowing if there is a passenger in the car and passenger air bag will not deploy.
The donor
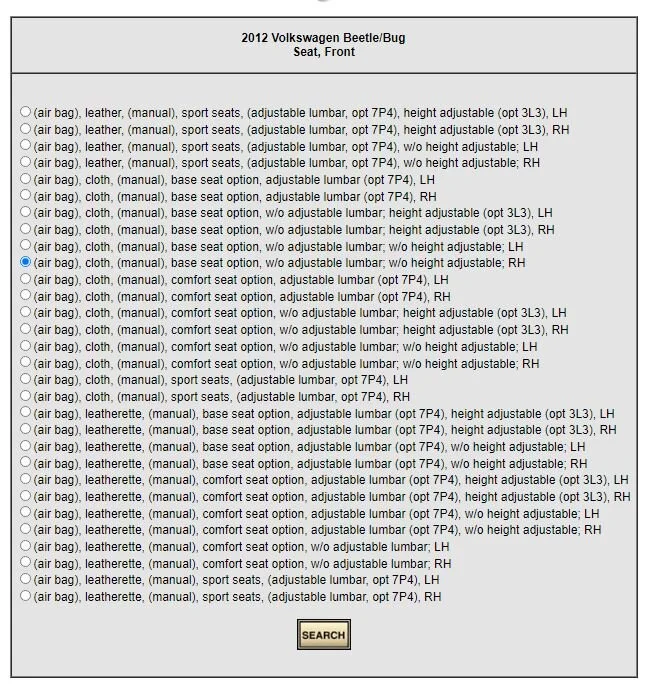
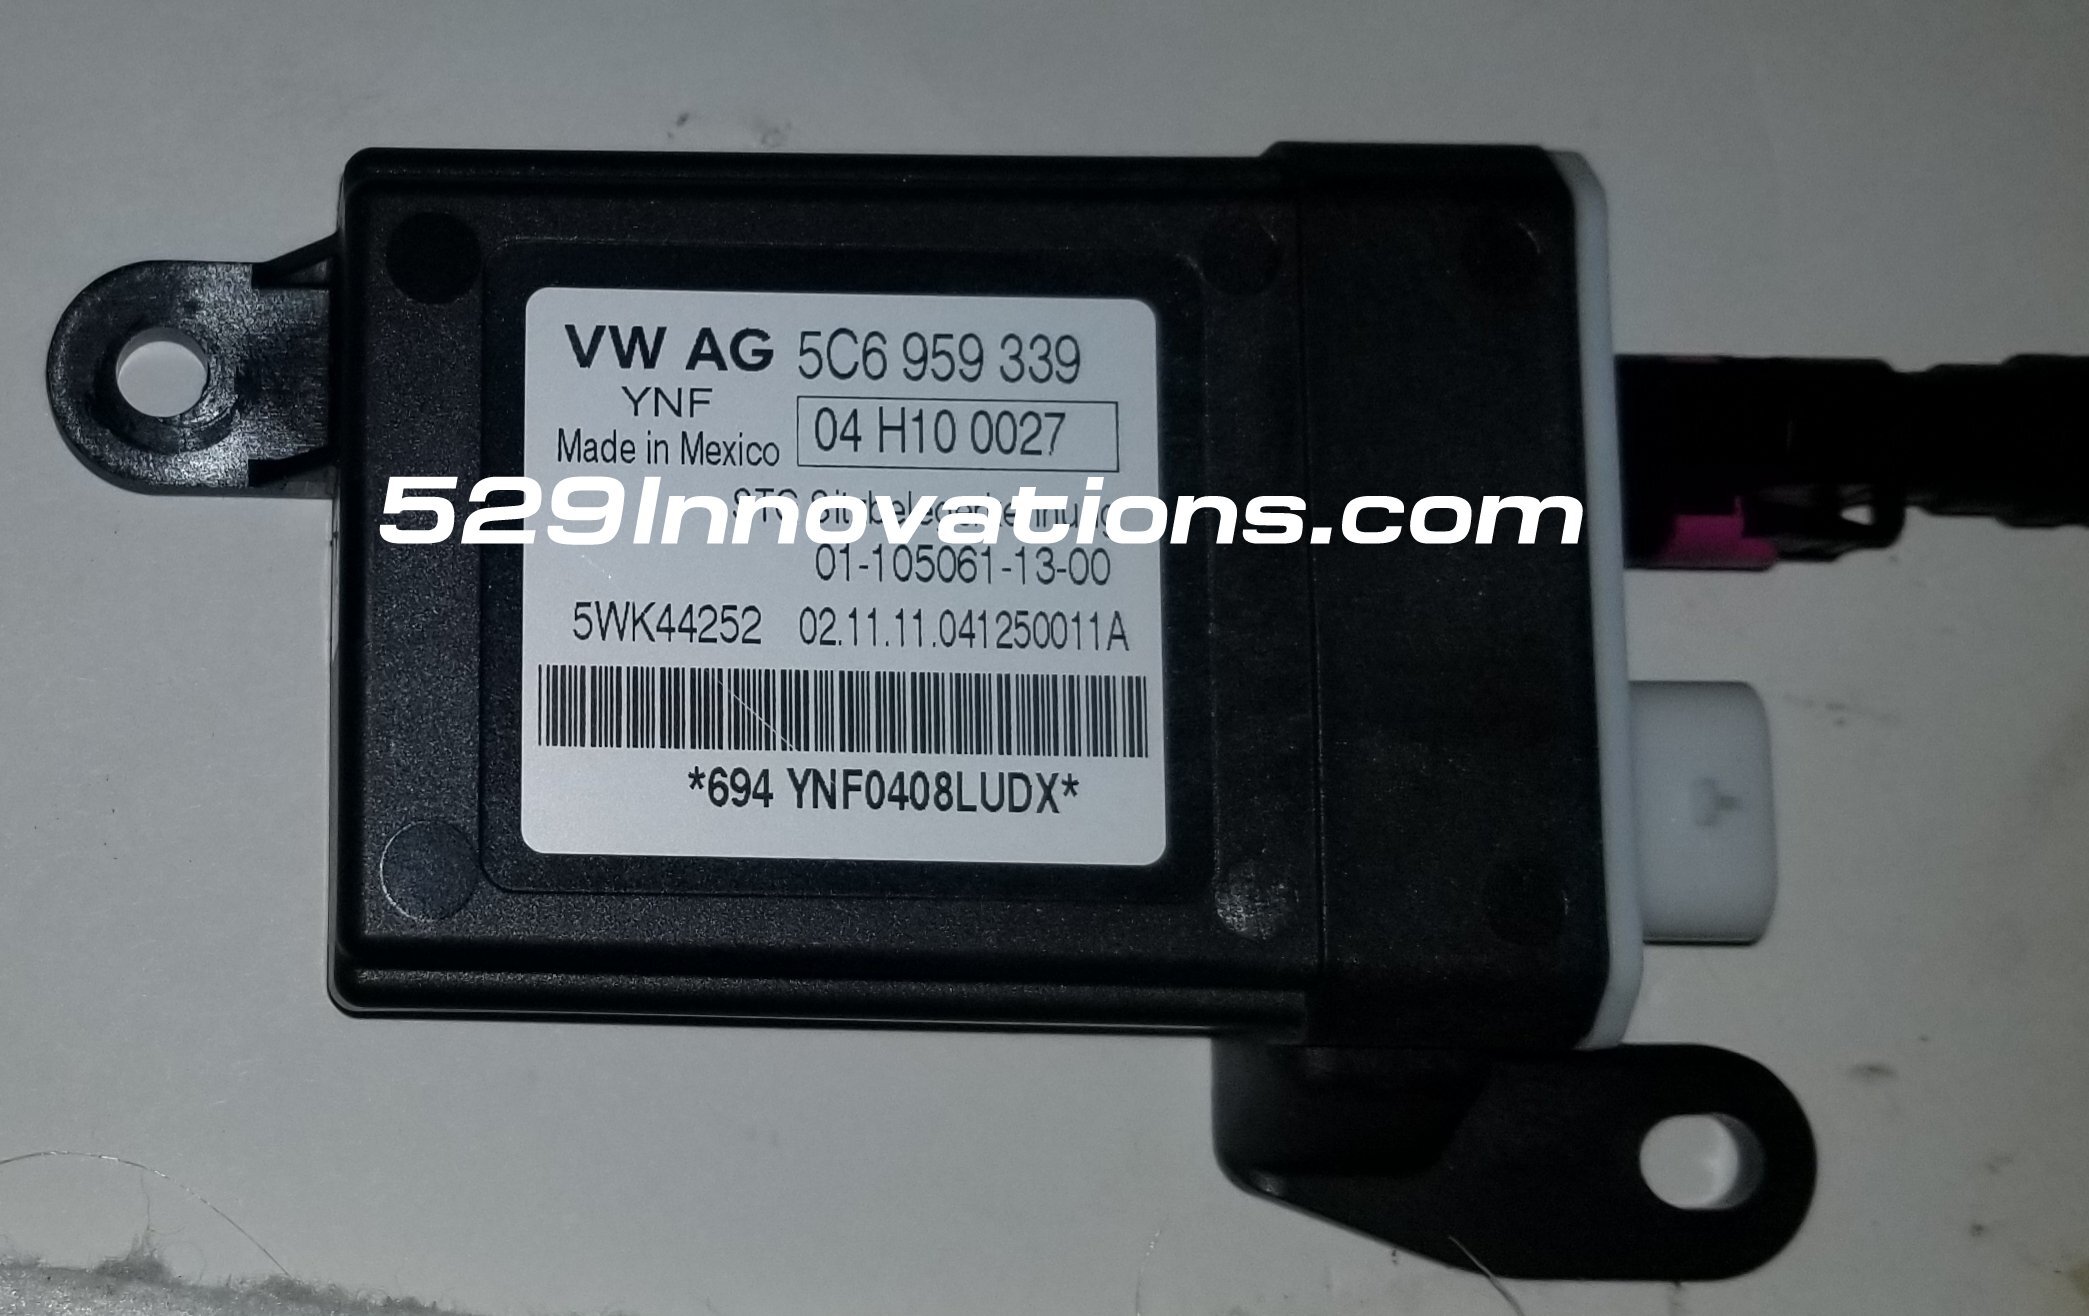
The donor seat came out of a 2012-2015 VW Beetle. This seat contains the correct Air Bag Presence Module (part #5C6 959 339) as well as the correct Occupancy Sensor Mat (part # 5C5959337) and harness connectors for the air bag resistor. I have found that the website https://www.car-part.com/ is a great place to look for used parts. The search screen and results are shown in the images below. I found that the option selected for the Right Hand (Passenger seat for those of us with left hand drive cars) was the most affordable option and can be had for about $100 for the complete seat. This is key because the sensor mat is not easy to source in the US.
Make sure you get a complete seat including the module under the seat and all harnesses.
The Process
VW Seat part removal
Flip the VW Beetle seat over and disconnect the harness that goes to the occupancy sensor mat from the sensor module. small connector shown in the picture below . Note that the oval connector should not have an existing harness/pigtail on it unless they cut the wiring when removing the seat. The existing harness in your car will connect to this spot on the module.
Unscrew the sensor module, slide it out off of the seat and set it aside
Remove the seat cover off of the seat bottom.
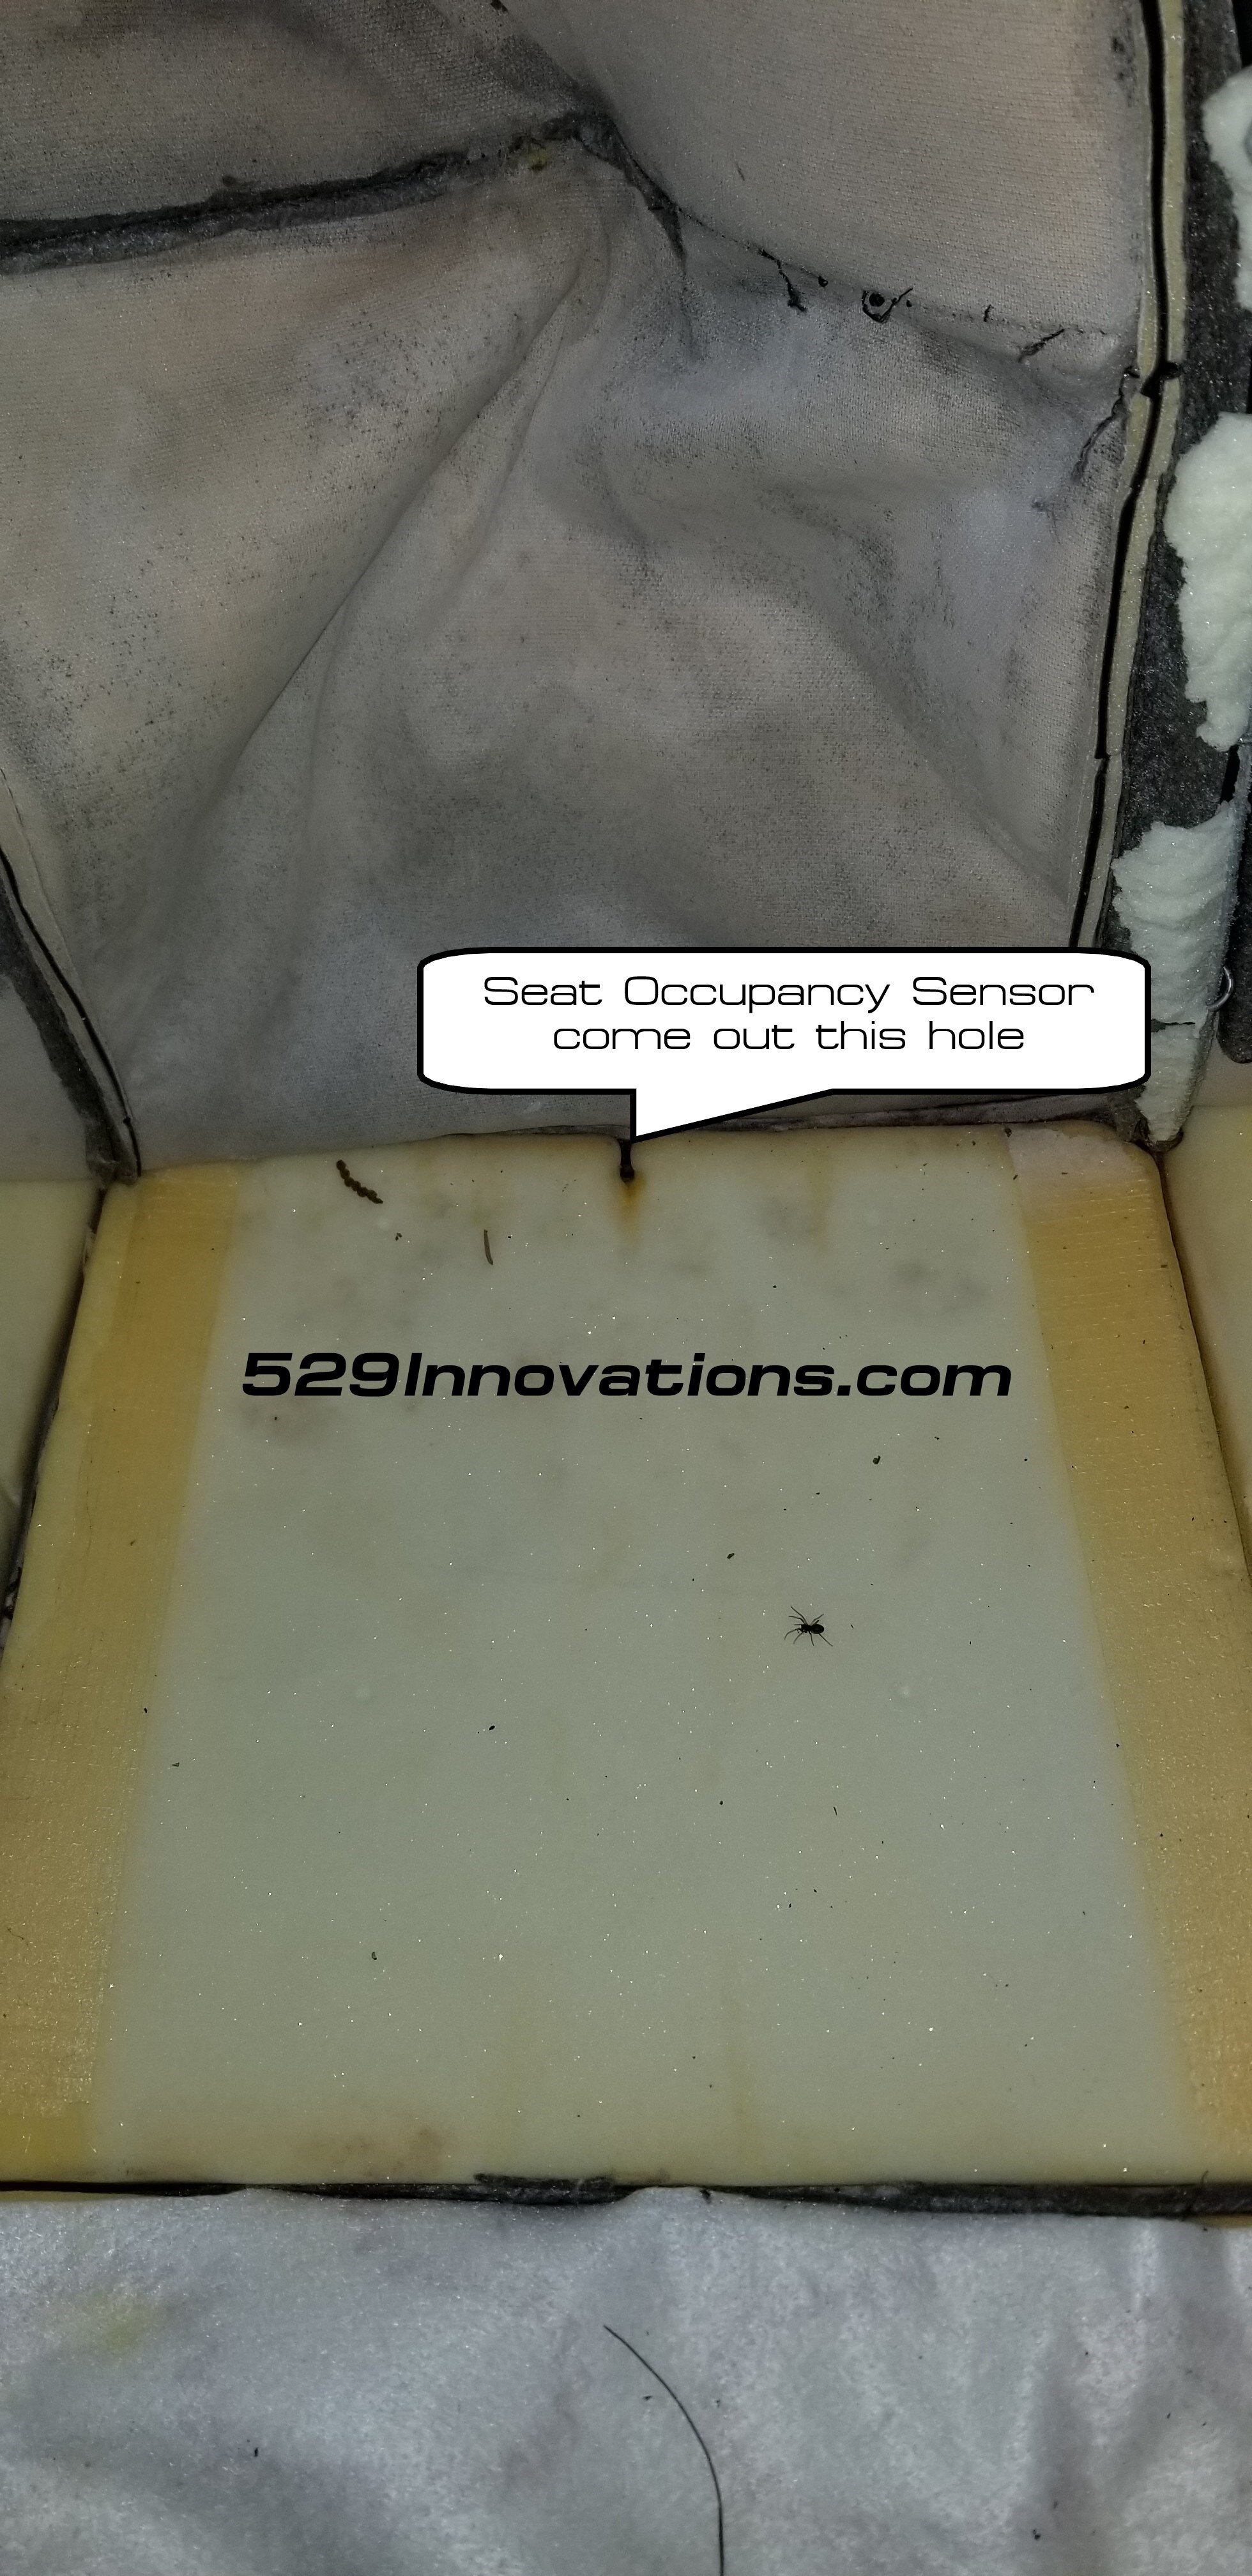
Follow the occupancy sensor mat cable you disconnected through the seat and carefully pull the mat off of the existing foam padding. There will be a white felt backing attached to the sensor mat that you can cut off. Take care to not damage the sensor mat in the process.
Setup and installation
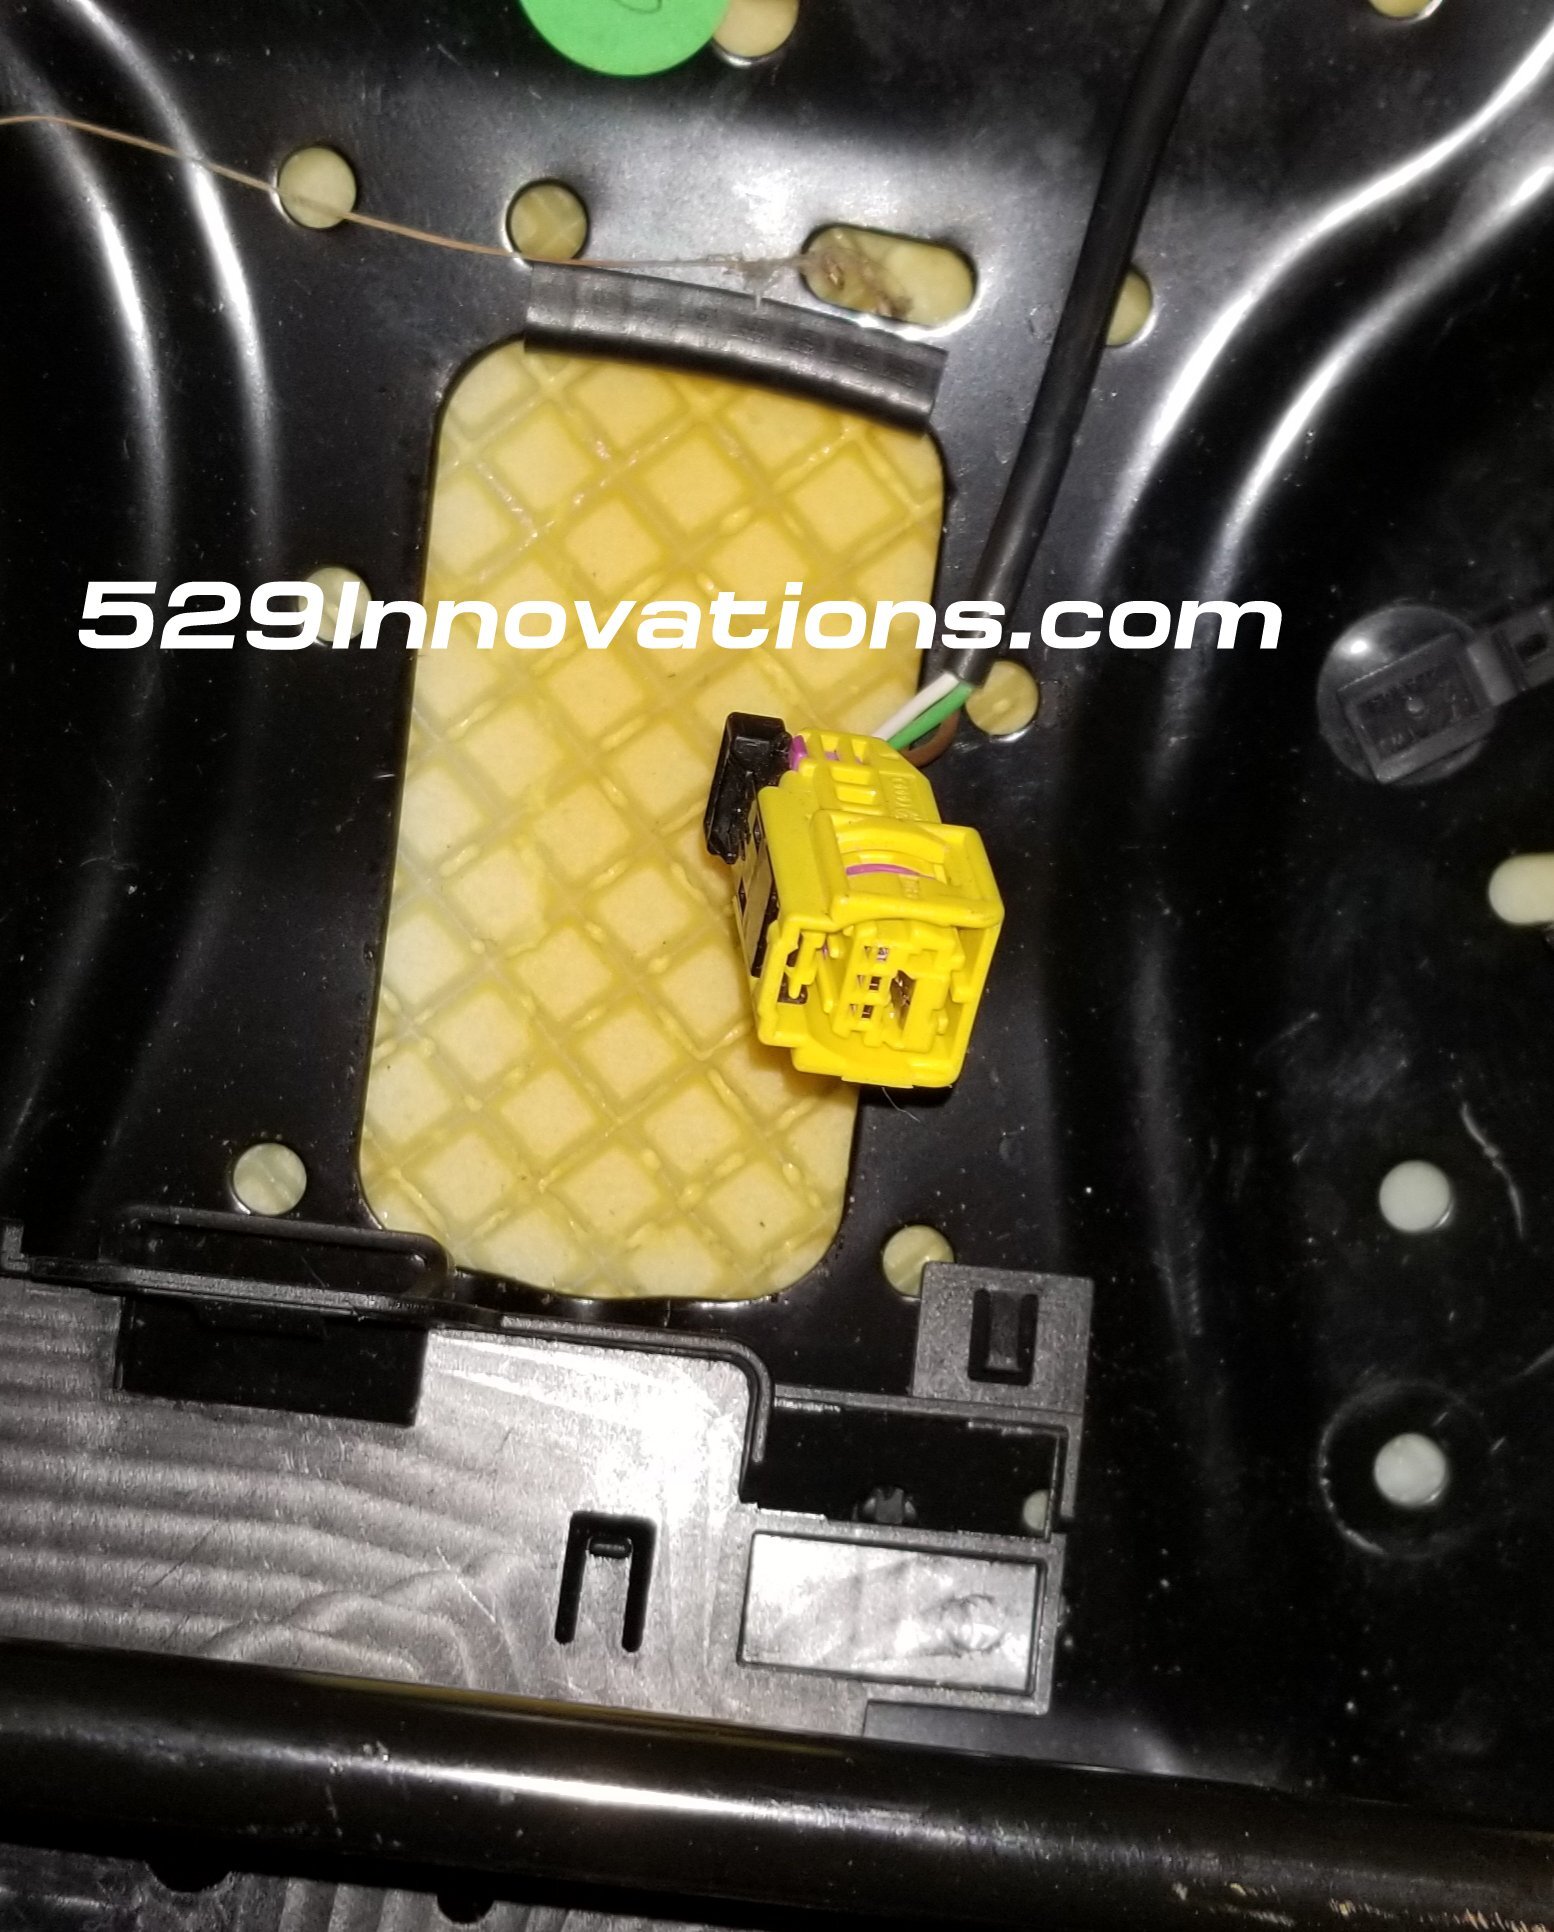
The yellow connector shown in the photo below can be cut off. Leave about 3-4 inches of the harness attached, this is what where you will connect the resistor. The brown wire is a ground, the resistor will connect between the other two wires (in my case the green and white wire). If you don’t want to or don’t have the means to connect the resistor there are many places that sell a pre-made connector.
Depending on the platform either a 2.5 ohm ,3.3 ohm or 4.7 ohm 1/4 watt resistor has been found to work. I can’t find any pattern but the 4.7 ohm seems to be the safest bet for all platforms. These can be sourced from amazon.com, mouser.com or digikey.com. They normally come in packs of multiple, you only need one but you can use the rest as stocking stuffers for your next company holiday party if you want to confuse people :) .
This is where you now have two options, you can remove the existing module from your car or you can connect the sensor module you removed from the VW seat to your car.
Plug the desired control module into the factory harness coming out of the floor
Plug the yellow resistor bypass plug into the port in the wire harness
Connect the Occupancy Sensor Mat to the control module
Depending on the seat you purchased the sensor can go under the seat cover or you can slide it under the floor.
If doing the latter the passenger air bag will not deploy even if someone is sitting in the seat.
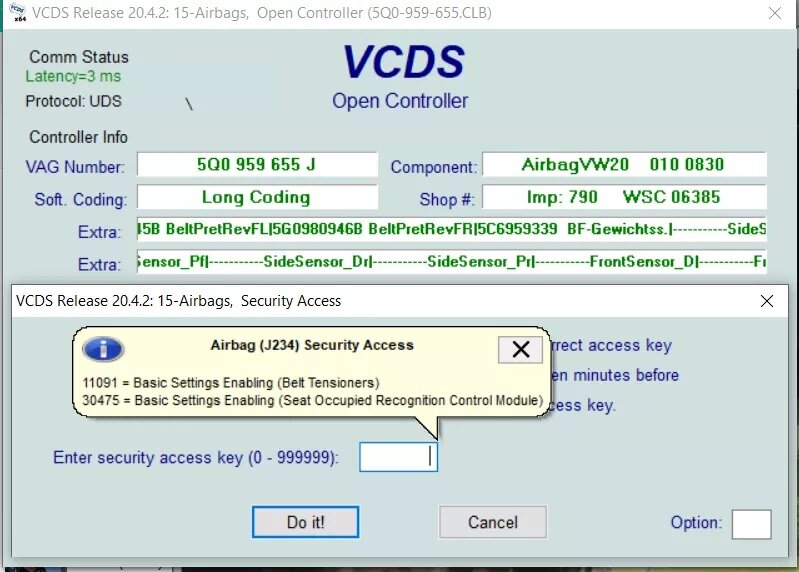
If you choose to leave your factory seat fully intact you will need to use VCDS to “relearn” the serial number of the new module. The screen shoots below are from VCDS, the final step will be to clear any codes.
If you choose to put your original seat back in the car you will need to use VCDS to relearn the serial number of your original module.
Your done!

